
Rigging is the way we control the movements of a character that allows the animator to breathe life into a model. The process involves creating joints or a skeletal system to serve as an armature within a modeled character, then binding the skeleton to the model. Different models require different skeletal structure hence a quick study of that creature’s anatomy will be very helpful in placing our joints in the correct places on the model.
With ZBrush, we can rig a character using ZSpheres and then bind the skeleton to the model. In this post, I will explore the different ways to bind bipedal humanoid female, using a ZBrush preloaded tool as a base mesh, Julie.
General Steps for Rigging in ZBrush
- Create or use a pre-made Model and load to your workspace.
- In the Tool Menu, Select Zspheres and click on workspace to place 1 ZSphere.
- Scroll down Tool Menu.
- Click Rigging->Select Mesh.
- Select the mesh you would like to rig.
- With transparent mode on, place Joints starting with the spine set.
- To begin placing ZSphere joints, first resize the first Zsphere and centered inside the mesh then place the rest of the joints for hour mesh.
- Bind joints to the mesh.
- Scroll down Tool Menu. Click Rigging->Bind Mesh.
- Hit “x” on your keyboard to activate symmetry.
- Scroll down Menu Bar. Click Transform->Activate Symmetry.
- Test bind by moving joints to pose the character body parts.
- Unbind.
- Scroll down Tool Menu. Click Rigging->Turn off Bind Mesh
- Modify or amend skeleton and joints.
- Rebind and test.
- Scroll down Tool Menu. Click Rigging->Bind Mesh
- Repeat 5, 6, and 7 until you are satisfied with the movement of the model.
- Pose.
- Unbind Skeleton.
- Scroll down Tool Menu. Click Rigging->Turn off Bind Mesh
- Transfer pose to the rest of the SubTools by using Transpose Master by first creating TRanspose Mesh.
- Create Transpose Mesh by go to the Menubar->Zplugin-> Transpose Master-TPose Mesh.
- Using Transpose Master to translate pose or action to the rest of the parts or subtools of the model such as clothes and accessories on the main rigged subtool.
- Bind the ZSphere to the Transpose Mesh.
- Pose the Transpose Mesh then transfer the pose to the original mesh and its accessories.
- On Toolbar, click ZPlugin->TransposeMaster->TPose|SubT
- Create Multiple Poses using the BlendShape Workflow we learned in class. (In depth article “Part II: Rigging in ZBrush-Managing Multiple Poses”)
- Select main Subtool. The main body of the model. Scroll down tool palette and select “Layer”.
- Create a New Layer. Name the layer to match the action, joint, and orientation of the movement. For example, Left_KneeBendClick Record.Pose the rig.
- Turn off Record.
- Set the current layer to Zero.
- Go to Transpose Master ->TPose|SubT
- Check pose.
- Turn off recently created layer to snap character back to original pose.
- Repeat until you created all the blendshapes you require.
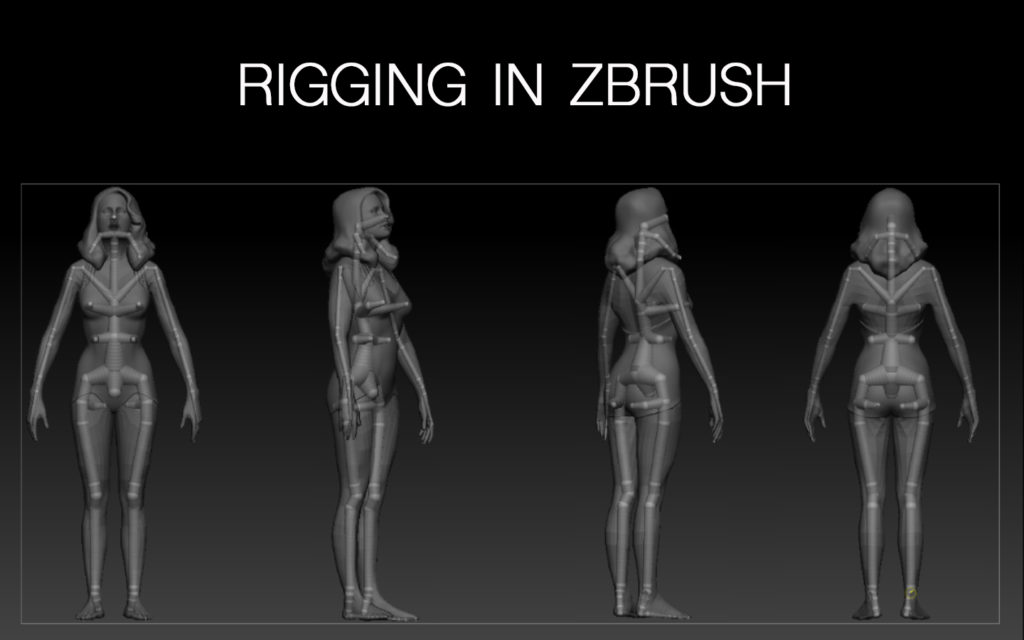
Initial Joint Placement using ZSpheres
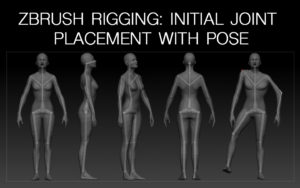
This shows a turnaround in Transparent mode of a basic rig of a humanoid bipedal rig with general joint chain placements with one front view movement.
When placing joints, it is best practice to turn on symmetry by hitting “x” on your keyboard or Toolbar-Transform->Activate Symmetry “X”.
These placements, although generally creates a single skeleton system, can be broken up into the following areas:
- Back
- Root
- Buttocks
- Spine
- Sternum
- Chest – a longer chest joint for female and shorter in lean males.
- Neck
- Head
- Legs
- Upper Leg
- Knee
- Ankle
- Toepad
- Arms
- Shoulders
- Elbows
- Wrist
- Fingers (optional, as these can be manipulated through blend shapes in ZBrush)
The pose of initial rig showing unnatural movements in the shoulder shrug, the elbow bend, as well as the leg raise and knee bend in the front view.
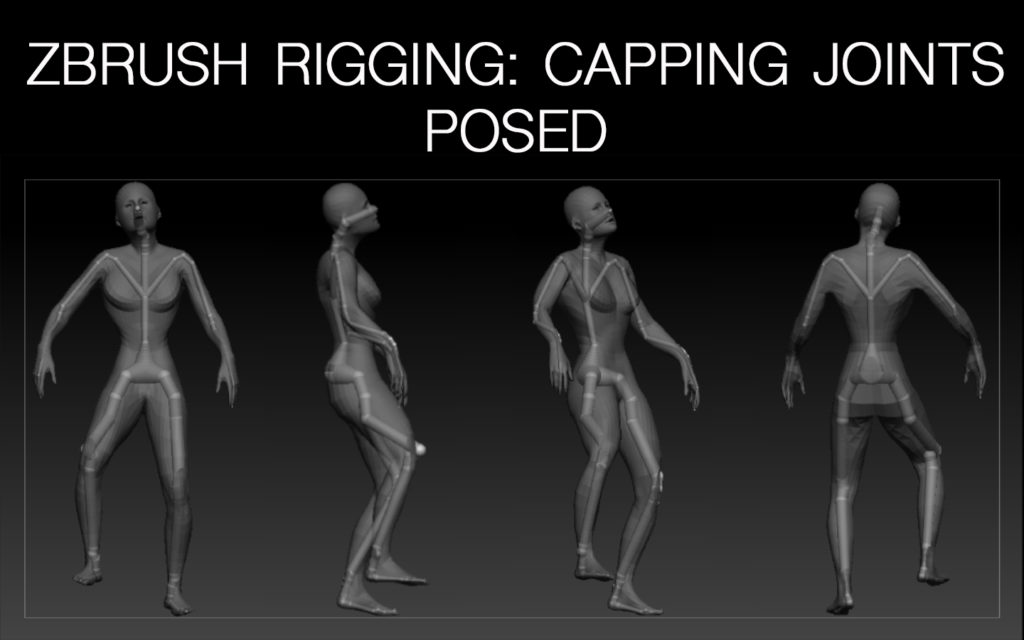
Natural Movement with Caps
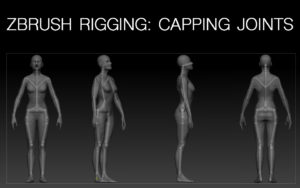
Since ZBrush doesn’t use weights, it uses a technique of adding more joints into the rig or Caps to manage joint influence on the meah. Caps must be placed as close to the main joints such as possible. These caps are used to create a more natural motion in the rig or main SubTool when posed in lieu of Maya’s painting skin weights to increase, decrease or remove a joint’s influence on the main geometry.
Additional ZSpheres and Transpose Master
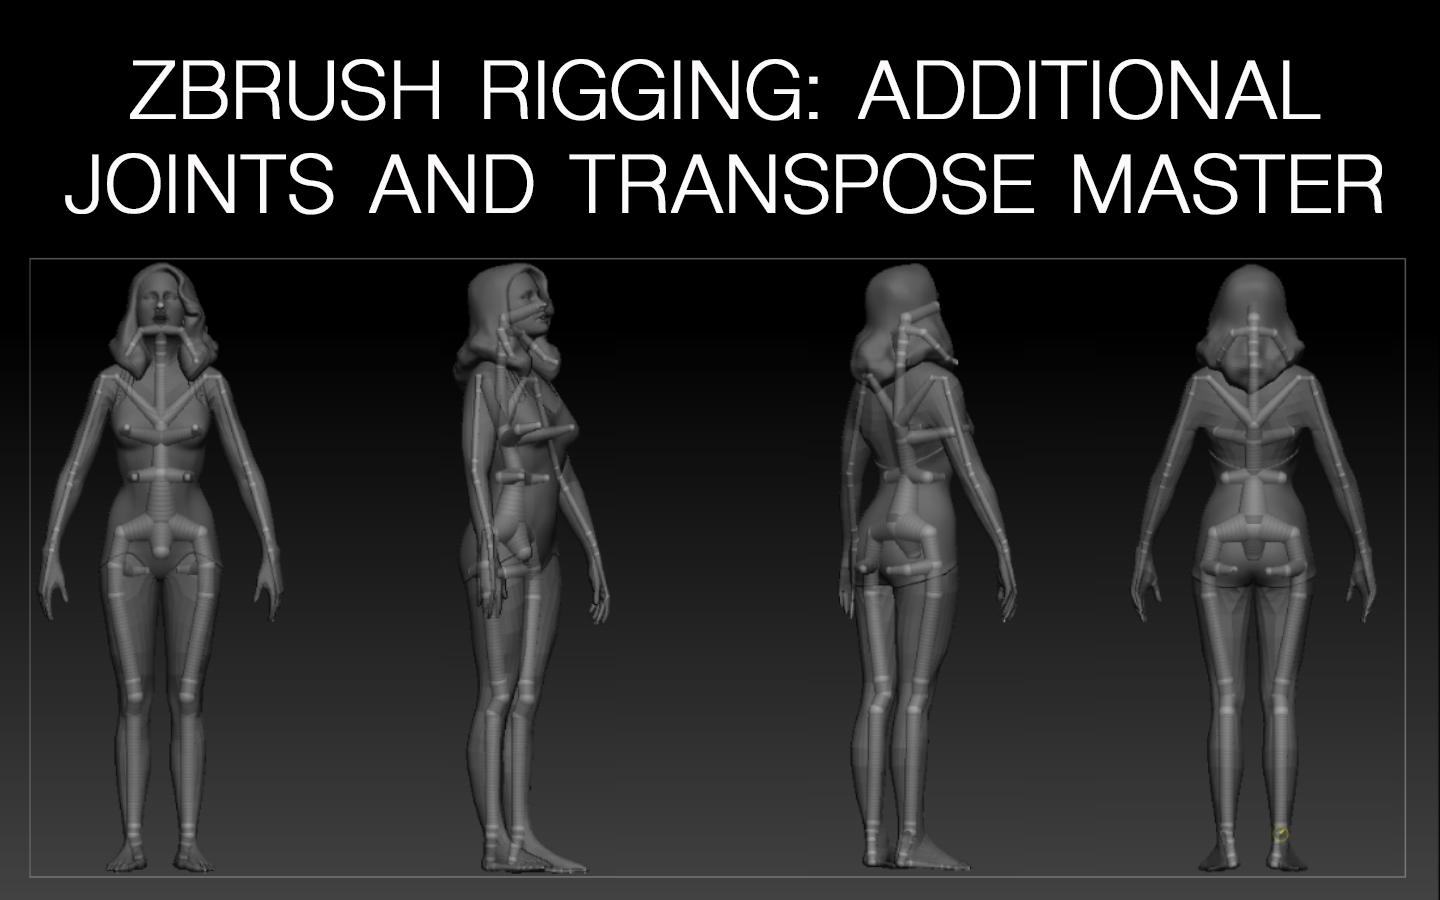
Additional ZSpheres
With female bipedal SubTool, we need to take into account areas of the body that would be influenced by gravity’s effect on the body such as the breasts, and the buttocks. Upper body movement along with root and the waist or sternum affects or influences the breast area. On the other hand, the buttocks would be affected by the root, the waist or sternum, and lower body movements. Other parts that can be affected and may require extra zSpheres would be hair and clothing. These would create a follow-through and whipping actions to any major movement of the body such as an animated jumping jack.
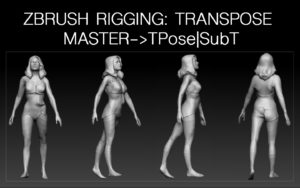
Using Transpose Master
Transpose Master helps transfer your selected pose to the full subtool or the whole character. After placing the final joints and leave the rig unbound. Then, go to the Menubar->Zplugin-> Transpose Master-TPose Mesh in the ZPlugins menu. This creates a TPose# subtool which is a combination of all the subtools. Then click on Rigging->Select Mesh->Select the TPose# mesh. Pose this rigged Tpose mesh. When your pose is finalized, translate you pose to the peripheral subtools connected to the base mesh or main SubTool. After posing the character using the created rig, to translate the pose of the main rigged subtool to the other subtools, select the TPose# in the SubTool Menu, click on the Menu Bar->ZPlugin->TPose|SubT
Conclusion
The rigging workflow used in Maya can also be used in ZBrush with a few slight differences. ZBrush Transpose Master simplifies the process of translating the pose or movement to other subtools such as clothing and anything attached to the base mesh. While Maya requires to specify joint influences by painting different weights on the mesh, ZBrush has simplified creating more natural accurate movements by the process of capping or adding more ZSpheres close to the initially placed joints. With these factors, I found ZBrush rigging seems to be a quicker way to rig a sculpted model.
References
- Gaboury, P. (2010, December 15). Part 1: ZBrush Rigging Using a Single Subtool. Retrieved October 12, 2019, from https://youtu.be/cmury2eT_io.
- Gaboury, P. (2010, December 27). Part 2: Zbrush Rigging with Transpose Master. Retrieved October 12, 2019, from https://youtu.be/li4Q4XlkPlE
- n. d. Rigging. Pixologic ZBrush User Guide. Retrieved from http://docs.pixologic.com/user-guide/3d-modeling/posing-your-model/rigging/
- Danny Mac 3D. 2018 March 14. How to Rig with ZBRush! – A 60 Second Tutorial. Retrieved from https://youtu.be/Qkq4mUIYXMg.